


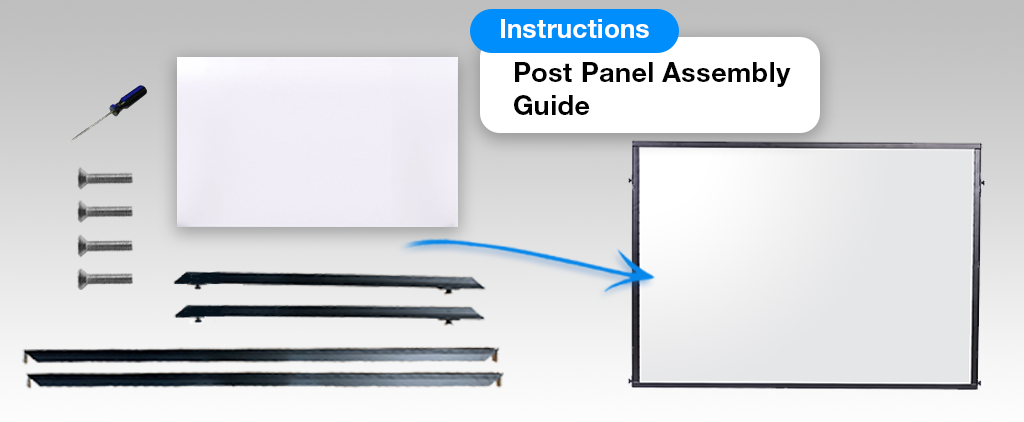
Stanchion Panel Assembly: A Step-by-Step Guide
Stanchion Panel Assembly: A Step-by-Step Guide
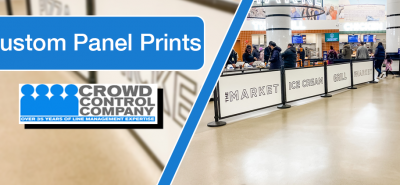
Stanchion panels are versatile tools in crowd control, providing both guidance and a canvas for communication. While their benefits are clear, assembling them might seem daunting at first. To help we created a step by step guide on how to assemble your panels and prepare them to be added into your queue.
What You’ll Need
Before starting the assembly process, let’s ensure you have all the necessary parts and tools ready:
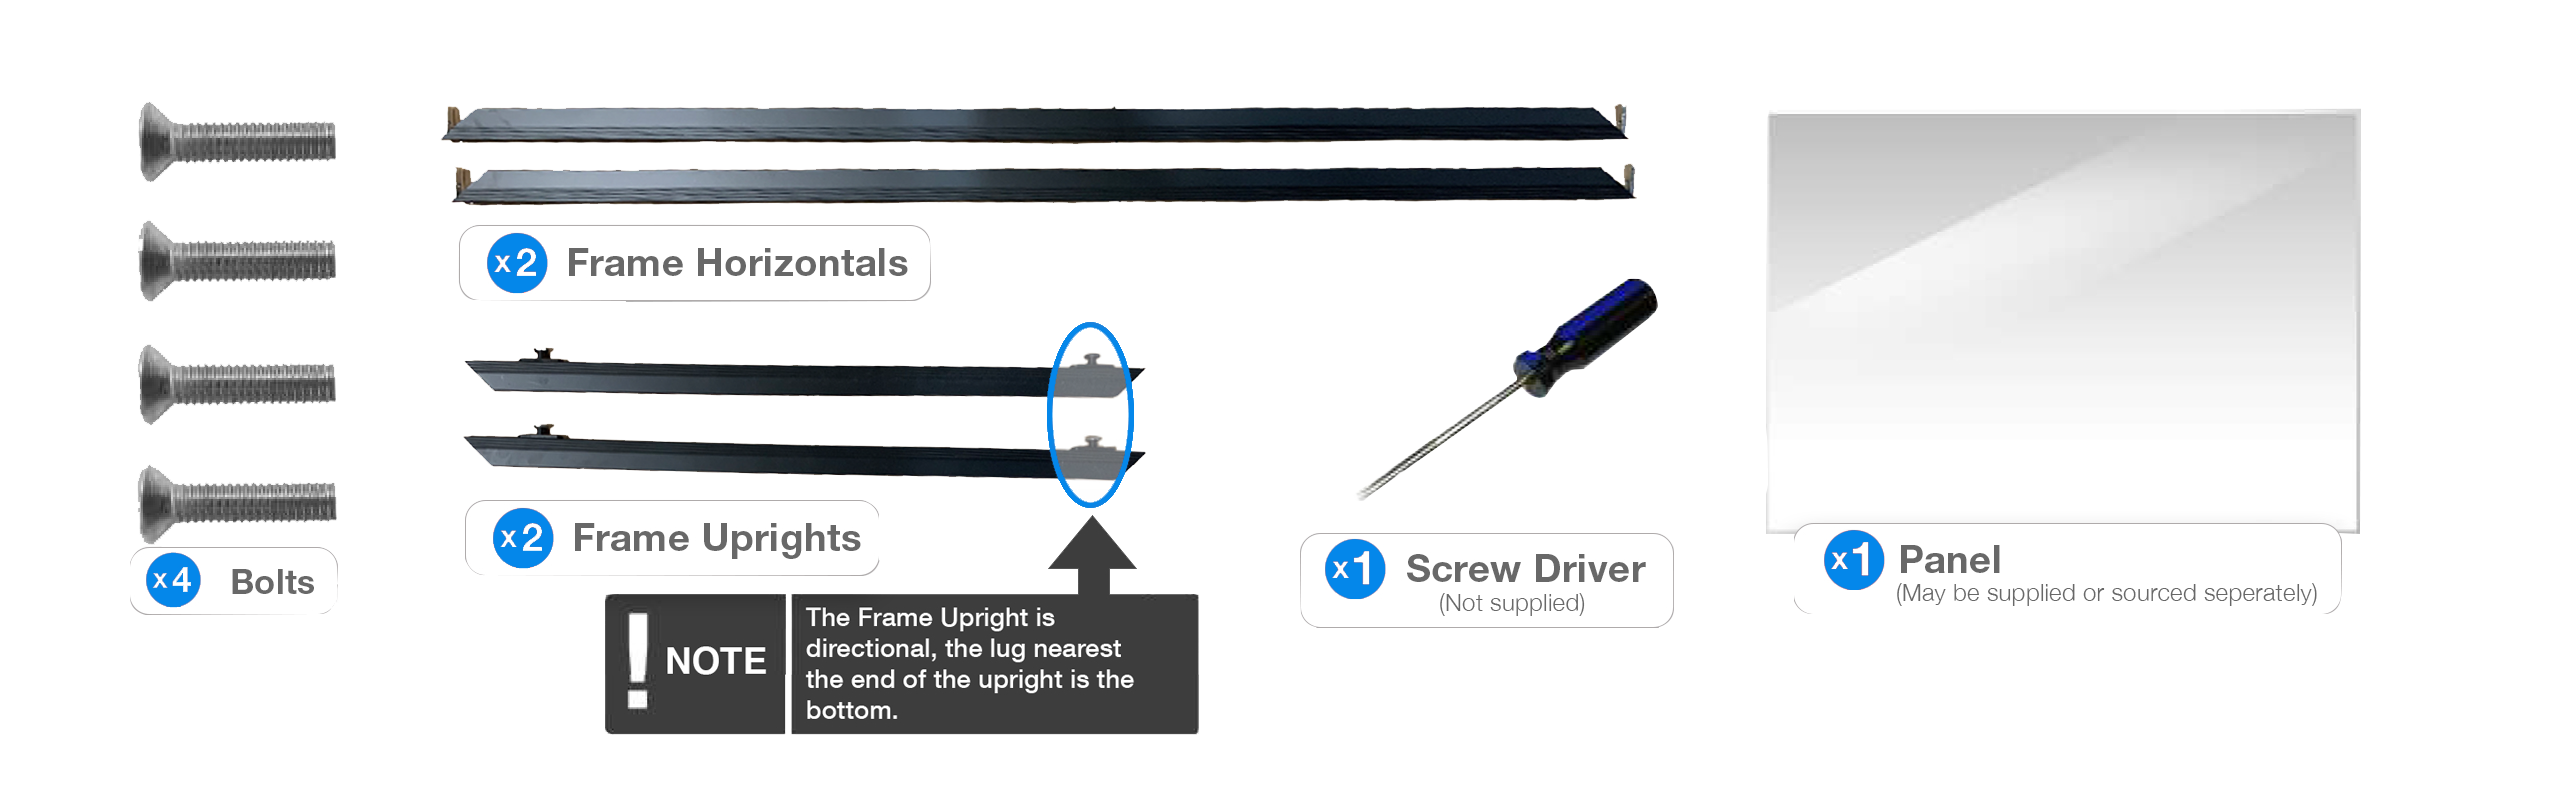
Parts Provided:
– 4x Bolt Screws
– 2x Frame Horizontals
– 2x Frame Uprights
– 1x Panel
Tools Needed(Not Provided):
– 1x Screwdriver
Once everything is accounted for it is time to begin the assembly process.
Steps to Assemble Your Panel
Step 1: Frame Preparation
Start by taking one of the horizontal frame pieces and aligning it with one upright frame piece. This forms the foundation of your stanchion panel.
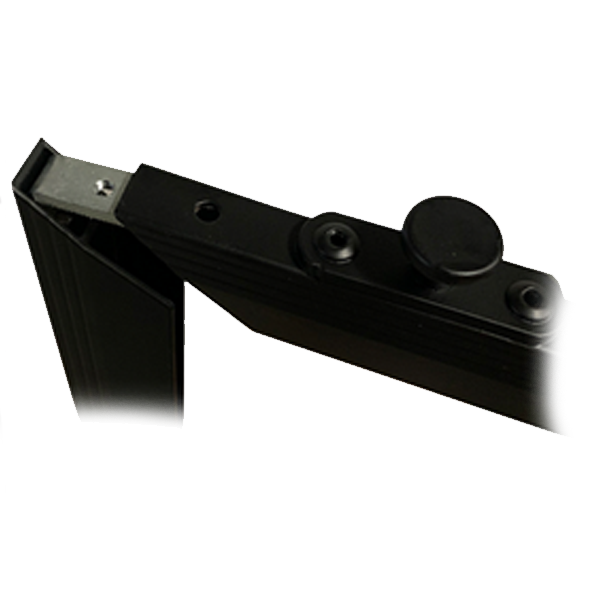
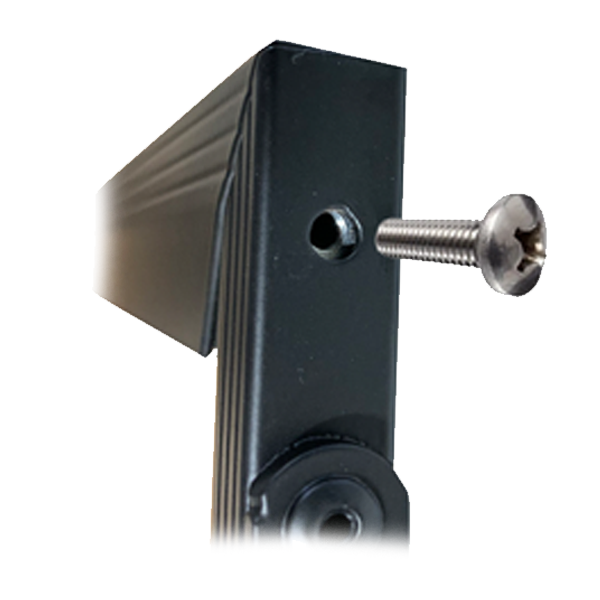
Step 2: Securing the Frame
Once the Frame Upright is in place, it’s time to secure it. Use the provided bolt screws to fasten the Frame Horizontal to the Frame Upright. This step ensures the stability of your panel’s frame.
Step 3: Building the U Shape
Repeat the same process with the other Frame Upright. At this point, you should have created a U shape. This U shape consists of one Frame Horizontal with the two Frame Uprights attached.
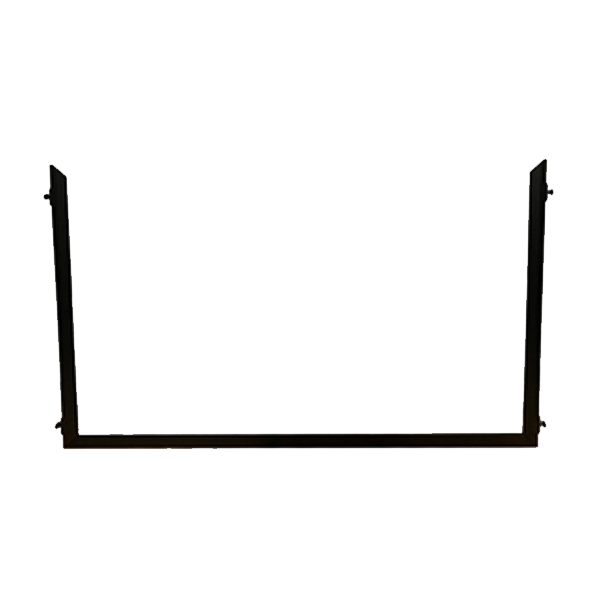
As you secure the Frame Uprights, make sure that the lugs on the outside of the frame uprights are parallel to each other. This ensures that your panel will be properly aligned.
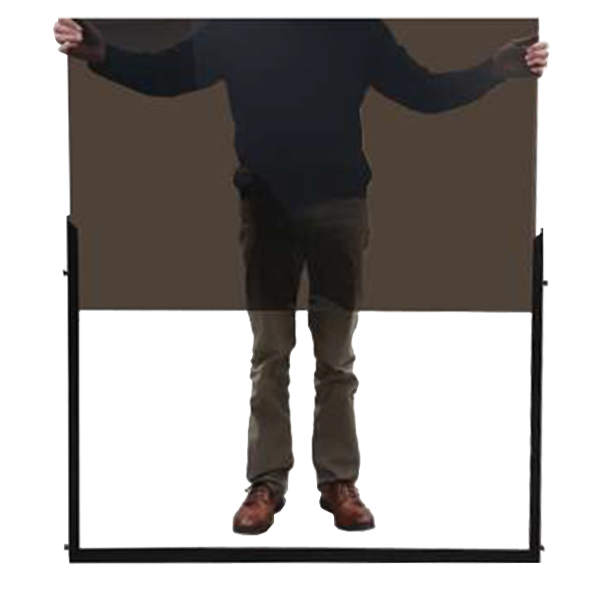
Step 4: Panel Insertion
With the panel securely in place, complete the assembly by attaching the last frame horizontal to the top of the panel. This step not only adds structural integrity but also gives your panel a finished look.
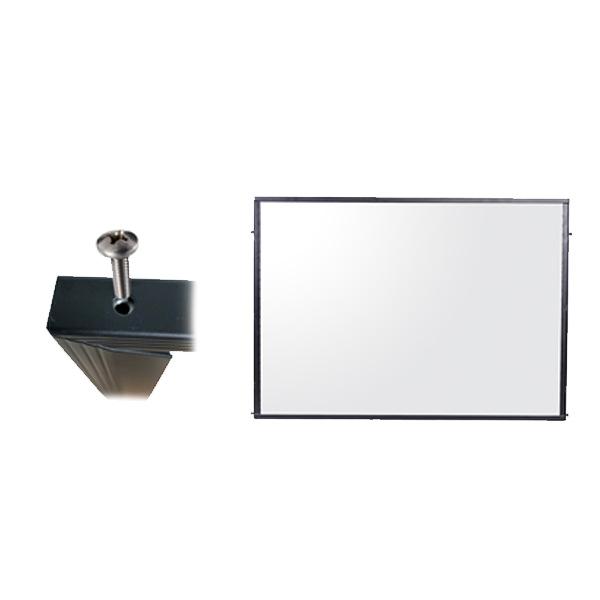
Step 5: Final Frame Attachment
Now that the frame is ready, it’s time to insert the panel. Simply slide the panel into the slot on each side of the frame uprights. This step requires a bit of finesse but should be relatively straightforward.
And there you have it! Your stanchion panel is now successfully assembled and ready for use in your queue! Check in next week as we go over assembling your queue setup with panels and the advantages that come with them.
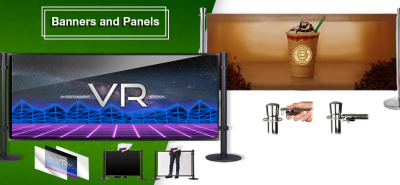
For more information about the full line of merchandising products, please visit our Banners & Panels category and explore the wide range of options available.
If you liked this post check out our most recent post Here


LEAVE A COMMENT